
Repair a VFD Variable Frequency Drive Capacitor Board Burn Fixing

Variable Frequency Drive This comprehensive guide will provide step by step
instructions including identifying the damaged components replacing them safely
and testing the repaired board for proper functionality
Discover valuable tips and precautions to ensure a successful repair and prevent future damage
Steps to Repair a Burnt Capacitor Board your solar inverter VFD
Safety First
Ensure that the VFD is disconnected from its power source
Discharge any remaining charge from the capacitors using a proper discharge tool to avoid electrical shock
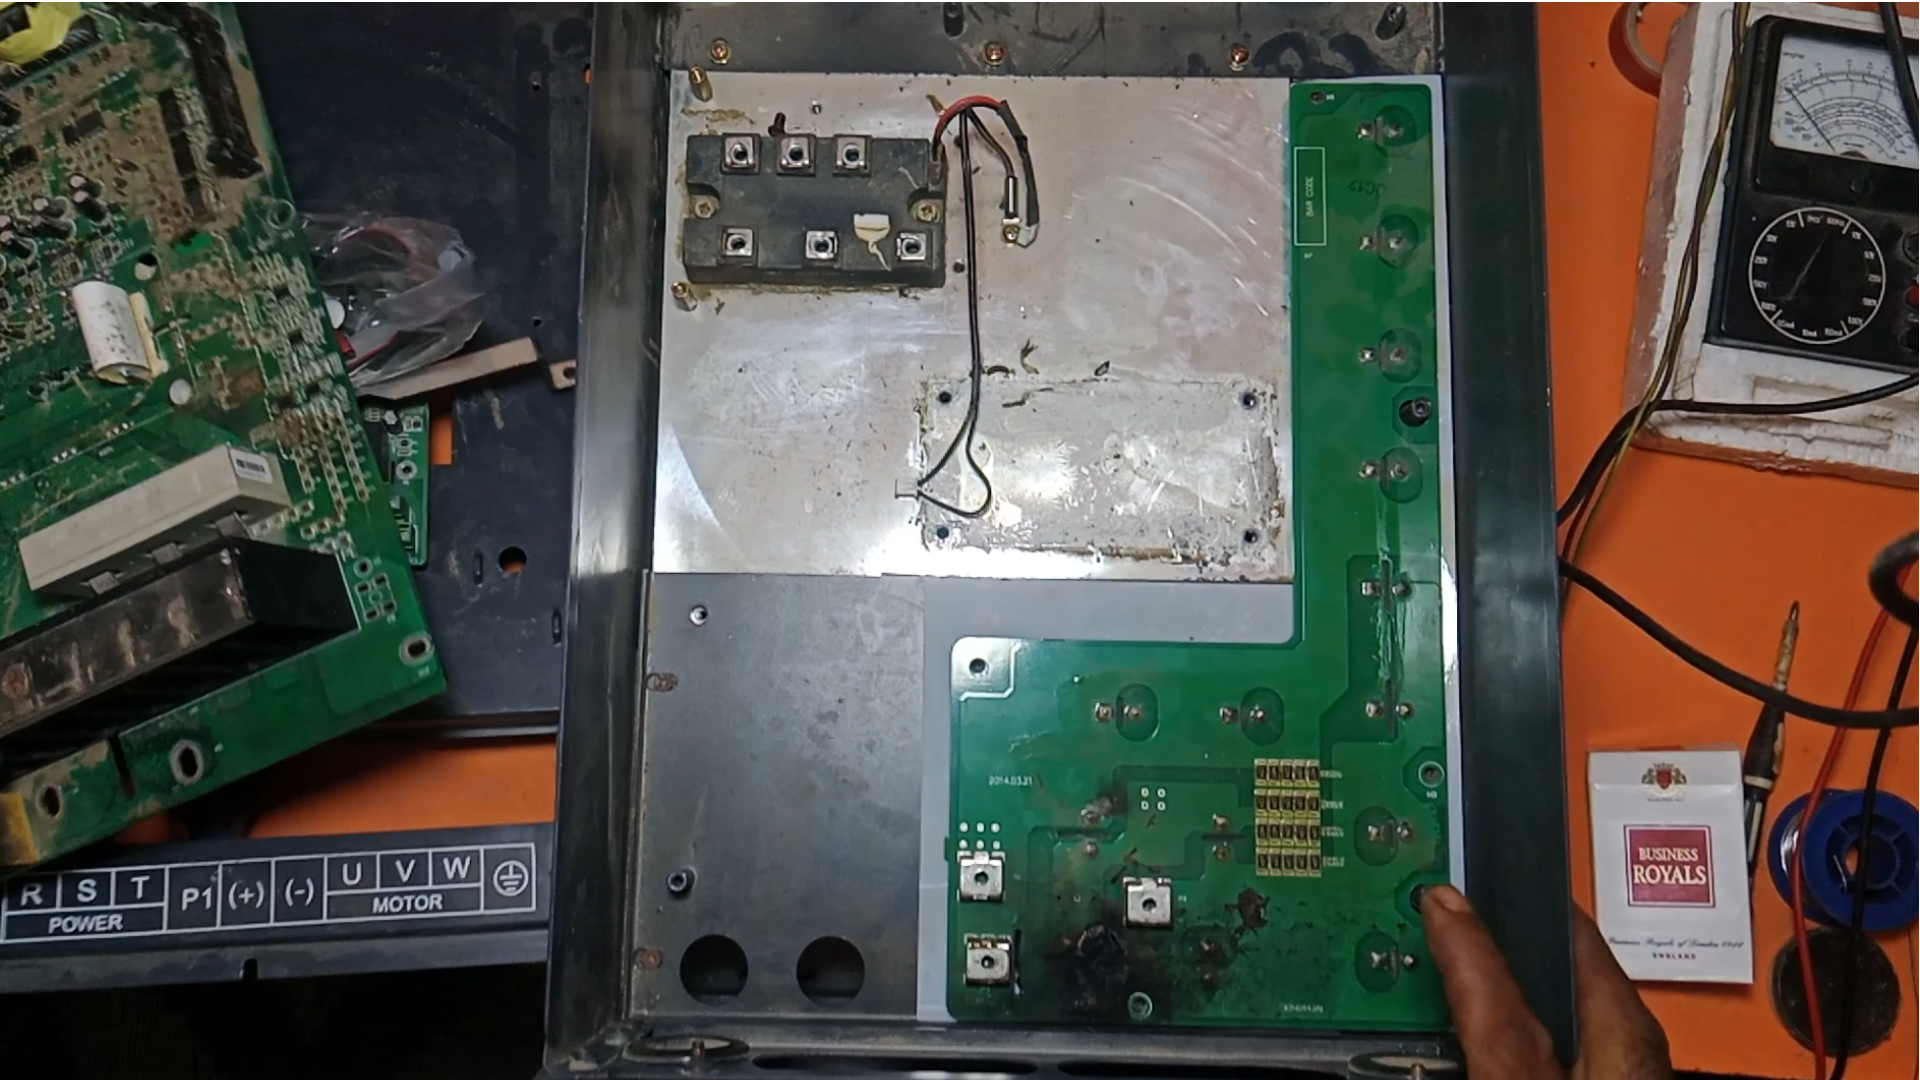
Visual Inspection
Conduct a thorough visual inspection of the burnt areas on VFD inverter Repaire the capacitor board
Burnt or damaged components often include capacitors resistors on the PCB
Identify visibly damaged or burnt components such as capacitors diodes resistors or other nearby electronics
Component Testing VFD Repairing
Use a multimeter to test the VFD Board capacitors for capacitance and leakage A shorted or open capacitor will require replacement
Test resistors diodes and transistors to verify they are functioning within their specified ranges of VFD Modle
Check PCB traces for continuity burnt traces may require bridging with wire
Replacement of Components VFD Repairing Tips

Replace any faulty VFD capacitors with new ones of the same rating voltage and capacitance
If any resistors transistors or other components are damaged replace them with identical parts
Repair or replace any damaged PCB traces by either soldering wires over the burnt sections or using copper trace repair kits
Reflow or Solder Components you Replace VFD Board
If damage occurred due to poor solder joints reflow the connections or apply fresh solder to the damaged area
Ensure all components are securely soldered and that no cold joints are present
Clean Up You Repairing VFD
After replacing components clean the board using isopropyl alcohol to remove soot burnt material or flux residue that could
lead to short circuits or malfunction

Reassemble and Test VFD
Once repairs are complete reassemble the VFD and test it under controlled conditions
Power up the VFD slowly monitoring the output and temperature to ensure the capacitor board is functioning correctly
Monitor for Future Failures
After a successful repair it’s important to monitor the VFD for any signs of overheating or additional component failure
Consistent maintenance can prevent future issues
Conclusion
Repairing a VFD capacitor board after a burn requires not only technical expertise but also precision Diagnosing
the root cause replacing faulty components and ensuring no secondary damage is vital for restoring the functionality of
the drive With careful repairs a VFD can be brought back to working order extending its operational life
Hello friends how are you?
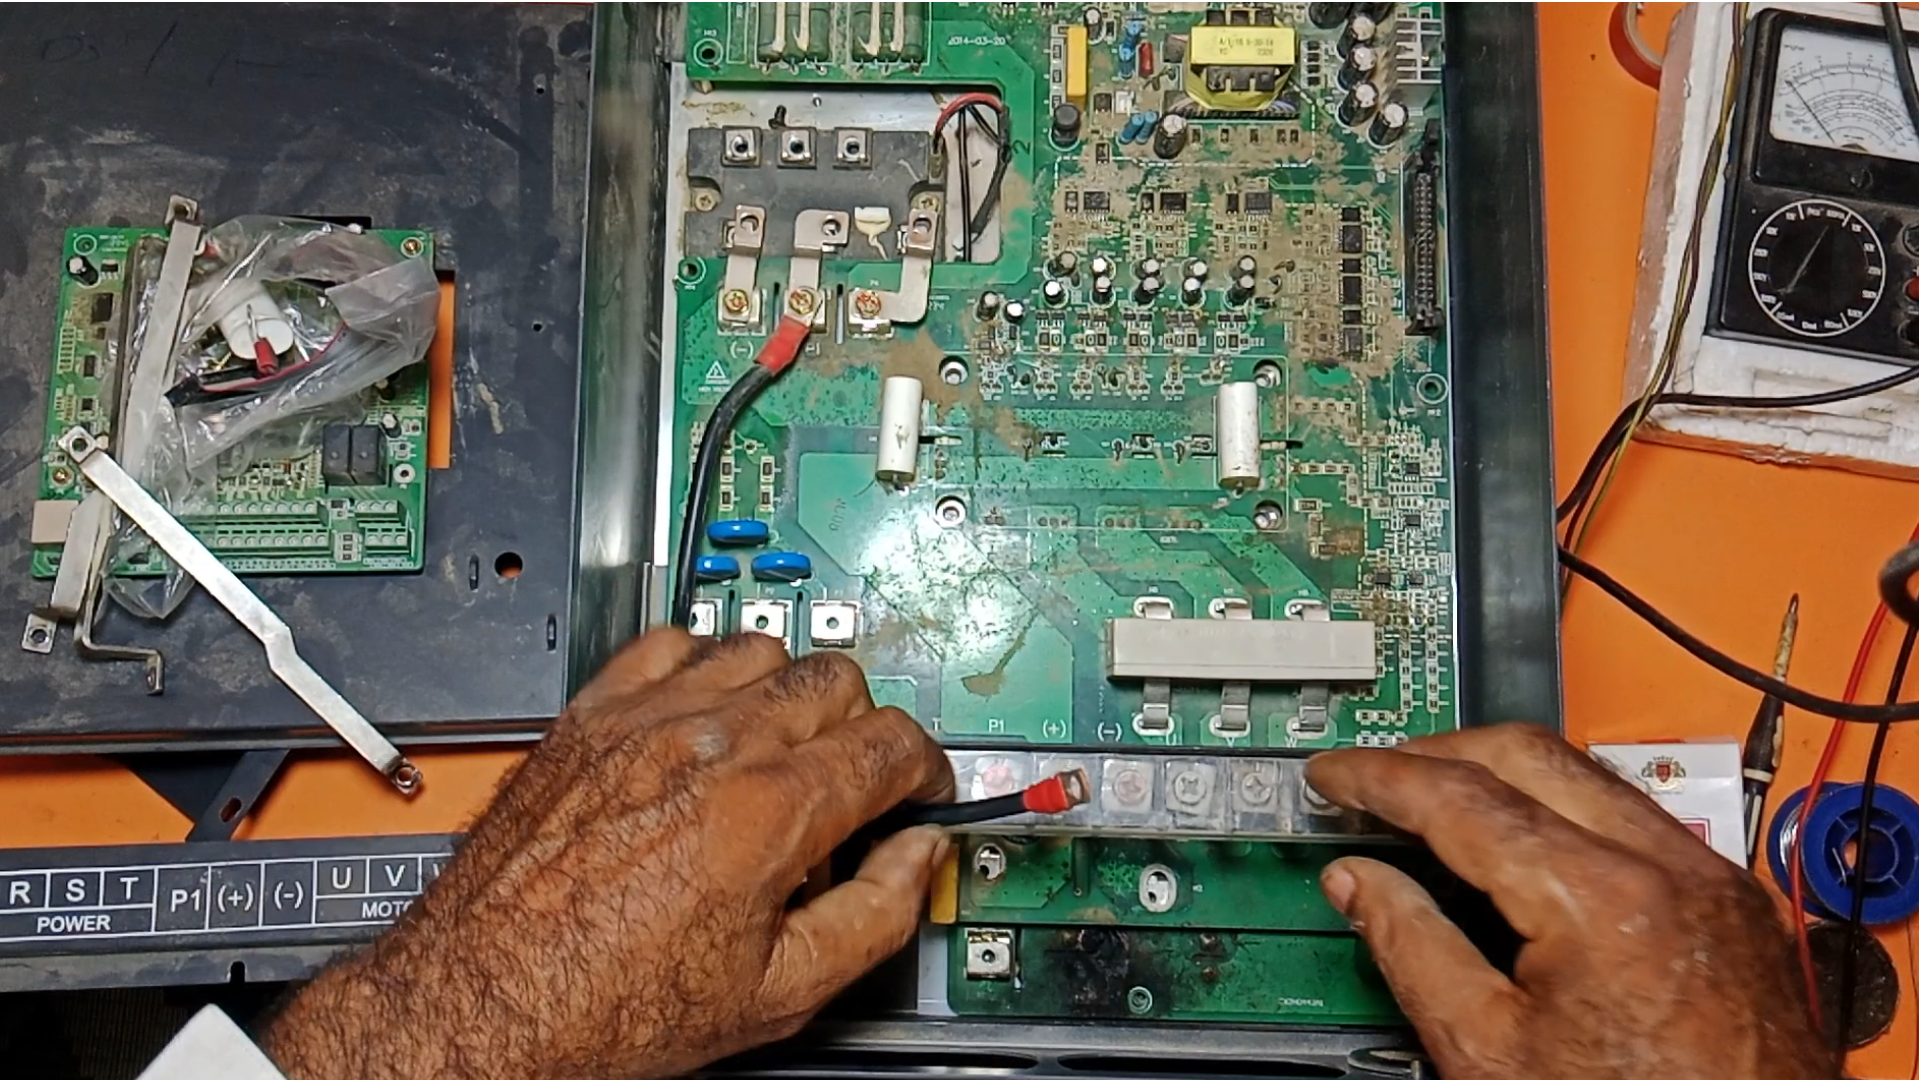
I had a VFD come in for repair today a technician had first opened it up and probably tried to repair it but then sent it back to me
The circuit board of the invt solar inverter capacitor bank in this inverter is burnt so today we will repair the circuit and make it usable again
First we will take out the capacitors in it after that we will wash it thoroughly now we will cut the burnt part
After cleaning well now we will install new capacitors after installing capacitors we will protect this circuit with varnish
Now this work is done now we have to put this capacitor board back in the body after that we connect the main board and jumpers and run it
I have 600 volt DC available I run this inverter by giving DC volt after running make sure it is coming around 400 volt in all
three phase of output if ok then ok

Tags
VFD 3Ph Inverter